Configure the CAN port
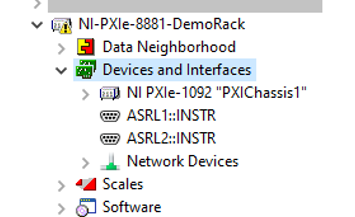
- In MAX, navigate to the remote system and expand it.
- Click the Devices and Interfaces section to expand it.
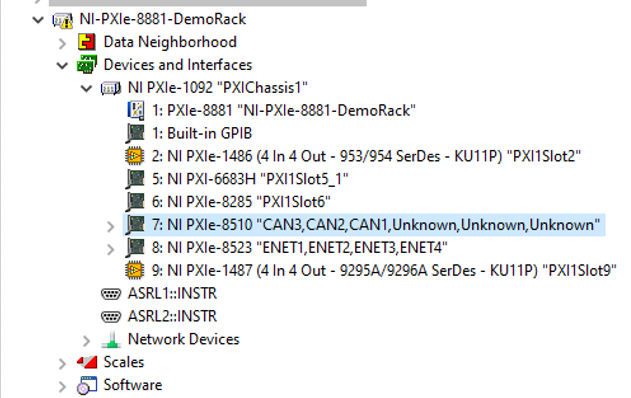
- Navigate to the CAN interface board under the PXI chassis.
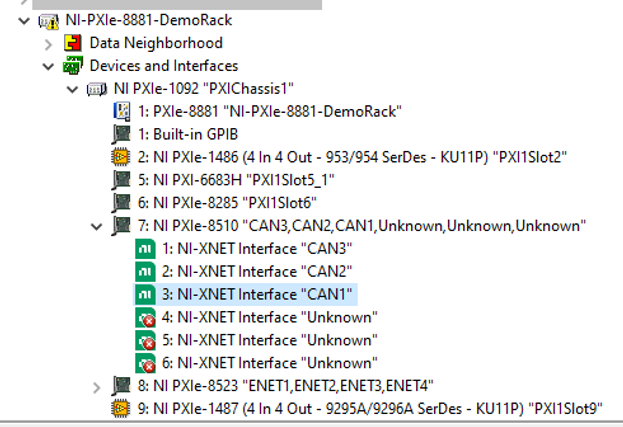
- Navigate to the two CAN interfaces that you want to use for this demo.
- Change their names to “CAN1” and “CAN2” and click Save to apply the changes.
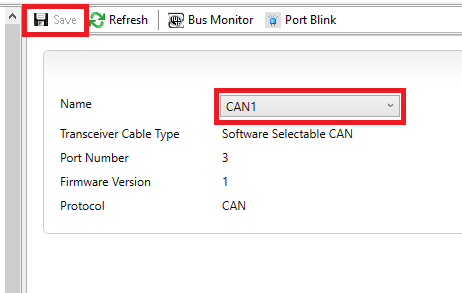
Note: CAN1 and CAN2 are used as a physical port to have communication across different software components in this demo.