webvi-examples
Incorporate User Resource into WebVI
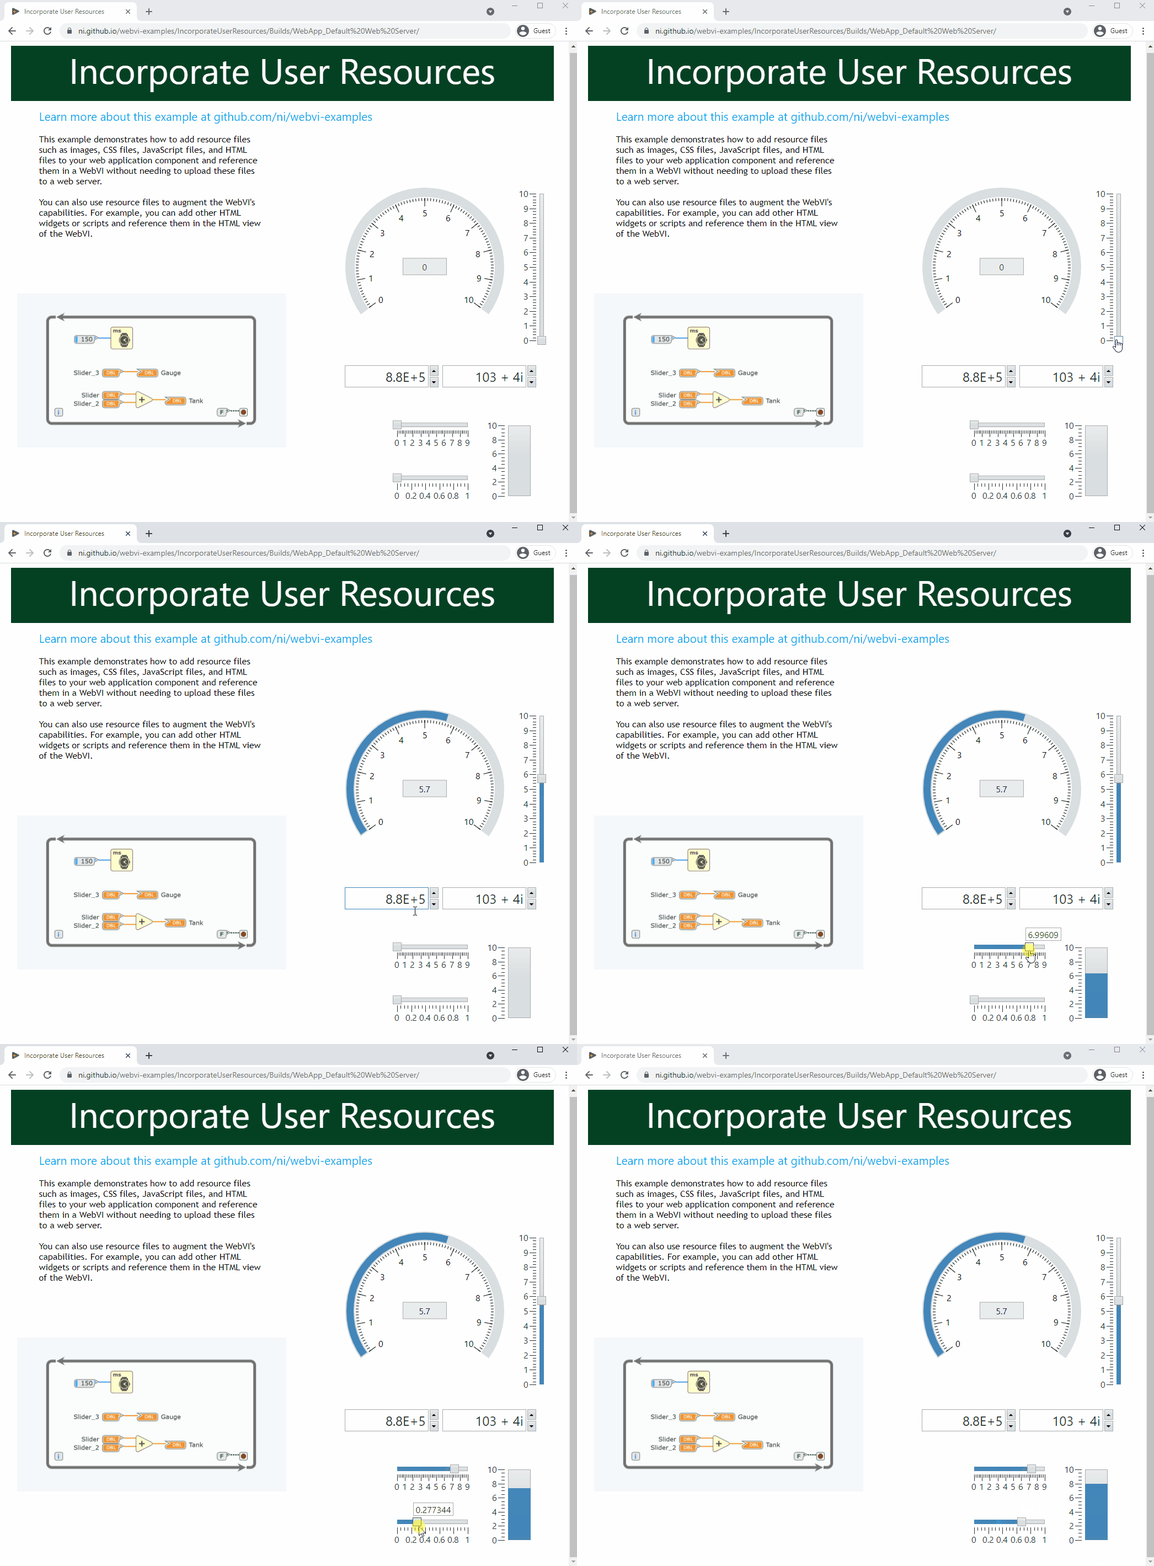
This example demonstrates how to add resource files such as images, CSS files, JavaScript files, and HTML files to your web application component and reference them in a WebVI without needing to upload these files to a web server.
You can also use resource files to augment the WebVI’s capabilities. For example, you can add other HTML widgets or scripts and reference them in the HTML view of the WebVI.

Dependencies
- G Web Development Software
Setup
- Clone the ni/webvi-examples repository to your machine.
- Open
IncorporateUserResources/IncorporateUserResources.gwebproject. - On the Project Files tab, expand
WebApp.gcompand openindex.gviweb. - Click the Run button.
- Build the web application.
a. On the Project Files tab, double-clickWebApp.gcompto open the web application component.
b. On the Document tab, click Build.- To view the build output on your machine, click Output Directory on the Document tab once your application finishes building.
- To launch and view the Web Application locally you can use the Run button on the Document tab.
Hosting
You can manually the move the build output found at \IncorporateUserResources\Builds to any web server. This project also includes a Distribution (WebApp.lvdist) that can be used to build a package (.nipkg). Packages utilize NI Package Manager to automated the process of installing, upgrading, or removing the web app. A package is also a requirement for hosting a Web application on SystemLink Cloud.
SystemLink Cloud Web App Hosting
The following steps can be used to host the web app on SystemLink Cloud
- Open
IncorporateUserResources.gwebproject. - Open
WebApp.lvdist. - Click the build icon in the top command bar of this distribution document
- Open a Web browser and navigate to https://www.systemlinkcloud.com/webapphosting
- Click the Choose nipkg button and select the nipkg built in step 3.
- When the upload is complete, click on your newly uploaded Web app from your list of Web apps
Local Hosting
The following steps can be used to host the web app on a local web server
Hosting on the NI Web Server with a nipkg
- Open
IncorporateUserResources.gwebproject - Open
WebApp.lvdist. - Click the build icon in the top command bar of this distribution document
- Double-click the nipkg and follow the on screen instructions
- Open a web browser and navigate to
http://localhost:9090/incorporateuserresources/
Hosting on the LabVIEW 2009-2021 Web Server
- Open
C:\Program Files (x86)\National Instruments\Shared\NI WebServer\www. - Copy the
WebApp_Default Web Serverdirectory into thewwwdirectory. - Open a web browser and navigate to
http://localhost:8080/WebApp_Default%20Web%20Server/
Hosting on the NI Web Server
- Open
C:\Program Files\National Instruments\Shared\Web Server\htdocs. - Copy the
WebApp_Default Web Serverdirectory into thehtdocsdirectory. - Open a web browser and navigate to
http://localhost:9090/WebApp_Default%20Web%20Server/.
Details
This example uses one type of resource: an image file.
An image is included in the images namespace within WebApp.gcomp. The image is a screenshot of the diagram code and is named WebVIDiagram.png.
Refer to the following sections to learn how to add resource files to a web application component and reference them in a WebVI.
Adding resource files to a web application component
- Open or create a web application project.
- On the Project Files tab, double-click
WebApp.gcompto open the web application component. - Decide on a folder structure for your files. You can add all files to the same folder, or you can organize files in subfolders, such as a
stylesfolder for CSS files or animagesfolder for image files. - (Optional) Create namespaces that correspond to each folder in your folder structure.
a. In the component document, right-click an existing namespace and select Add Namespace.
b. Repeat the previous step for every namespace you want to create. - In the component document, right-click the namespace you want to add resource files to and select Import File(s).
Note: You must save your component document before you can import files.
Referencing resource files in a WebVI
You can reference a resource file using its relative URL. The relative URL is determined by the namespace of the WebVI and the namespace of the resource file.
Examples:
- WebVI:
WebApp/index.gviweb
Resource file:WebApp/myImage.jpg
Relative URL:myImage.jpg - WebVI:
WebApp/ChildNamespace1/index.gviweb
Resource:WebApp/ChildNamespace2/myImage.jpg
Relative URL:../ChildNamespace2/myImage.jpg
Referencing image files
- On the panel of a WebVI, add a URL Image control.
- Select the URL image control. On the Item tab, set Source URL to the relative URL of the image you you want to reference.
Note: The source URL needs to be URL-encoded. For example,
my image.jpgshould bemy%20image.jpg.
Referencing CSS files
- On the panel of a WebVI, click the
Edit panel HTMLbutton in the toolbar to launch the HTML source dialog. -
Add the following line in between the
<head></head>tags:<link rel="stylesheet" type="text/css" href="[your-stylesheet].css">Example:
 <head>
     <!-- ... other head content ... -->
     <link rel="stylesheet" type="text/css" href="mystyle.css">
 </head>
Referencing JavaScript files
- On the panel of a WebVI, click the
Edit panel HTMLbutton in the toolbar to launch the HTML source dialog. -
Add the following line in between the
<head></head>tags:<script src="[your-script].js" type="text/javascript"></script>Example:
 <head>
     <!-- ... other head content ... -->
     <script src="myscript.js" type="text/javascript"></script>
 </head>
Referencing HTML files
- On the panel of a WebVI, add a Hyperlink Control.
- Select the hyperlink control. On the Item tab, set URL to the relative URL of the HTML file you you want to reference.

